Our campus use of Zoom has increased exponentially since March with the campus move to remote learning. Our UMass Zoom cloud recording storage is limited and nearing capacity due to the increased number of meetings and webinars. Zoom cloud recording storage is not intended to provide continual hosted storage for sharing or playback.
In order to free up UMass cloud storage space and effectively maintain enough storage available for all Zoom users, the following will be implemented:
- Effective November 23, 2020, all UMassD Zoom cloud recordings dated prior to May 31, 2020 will be moved to Zoom Trash. Recordings moved to Zoom Trash folder are available for 30 days and then permanently deleted.
- Effective December 20, 2020, UMassD Zoom cloud recordings dated prior to August 15, 2020 will be moved to Zoom Trash. Recordings moved to Zoom Trash folder are available for 30 days and then permanently deleted.
- Effective January 15, 2021, CITS will institute a 120-day retention policy for Zoom cloud recordings. Moving forward from January 15, 2021, recordings will be deleted from Zoom cloud storage 120 days from the date of creation. Please note these recordings will be moved to the Zoom Trash folder and will be available for 30 days.
The 120-day retention policy provides instructors the opportunity to maintain cloud recordings within UMassD Zoom for one full academic semester.
Delete Cloud Recordings
All UMassD Zoom users should regularly review Zoom recordings and delete redundant cloud recordings to Zoom Trash. Deleted recordings are moved to the Zoom Trash folder for 30 days and then permanently deleted.
- Open a web browser and log in to your Zoom Recordings page.
- Adjust the date range at the top if needed.
- Click the More button to the right of an individual recording, and choose Delete.
- Click the Yes button to confirm. The file is moved to your Zoom Trash folder.
Save Recordings to your Local computer
- Open a web browser and log in to your Zoom Recordings page.
- Adjust the date range at the top if needed.
- Click the More button to the right of an individual recording, and choose Download.
- If asked, select the Save File radio button, then click OK.
To skip this step in the future, click to select the “Do this automatically” checkbox. - The file is saved to your Downloads folder.
Save Recordings to One Drive
- First, download the recordings as described above.
- Open a web browser and log into the myUMassD Portal.
- Click the OneDrive icon in the Office 365 section toward the bottom of the page.
- Open the OneDrive folder where you intend to store your recordings.
- Make your browser window smaller, so that it only takes up half of your screen.
- Open a File Explorer or Finder window, and navigate to your Downloads folder.
- Arrange your windows so you can see your Downloads and your web browser at the same time.
- Drag the desired recordings from your Downloads to the OneDrive window.
You can also install the OneDrive application to enable Windows File Explorer or macOS Finder integration. This will allow you to drag files from your Downloads folder to your OneDrive folder without using a web browser.
Save and Transfer to Kaltura Media
Recover Deleted Recordings
- Open a web browser and log in to your Zoom Recordings page.
- Click the Trash link on the right side of the page.
- Click the Recover link to the right of an individual recording.
- Click the Recover button to confirm. The file is moved back to your Recordings list.
- To view your available recordings, click the Recordings button in the left column.
Best Practices
- Delete redundant recordings no longer needed.
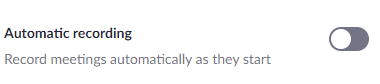
- Disable the automatic recording meetings by default setting.
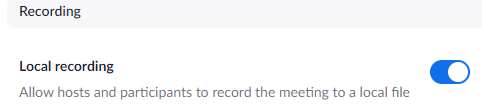
- Optionally, save your recordings directly to your local computer.