The most important first step is to ensure that you are using a supported internet browser – Google Chrome or Mozilla Firefox.
Clearing the browser cache can remedy most issues you encounter while using the tools in myCourses. Follow the directions on this page to learn how you can clear the cache of whichever web browser you are using.
Mozilla Firefox | Google Chrome
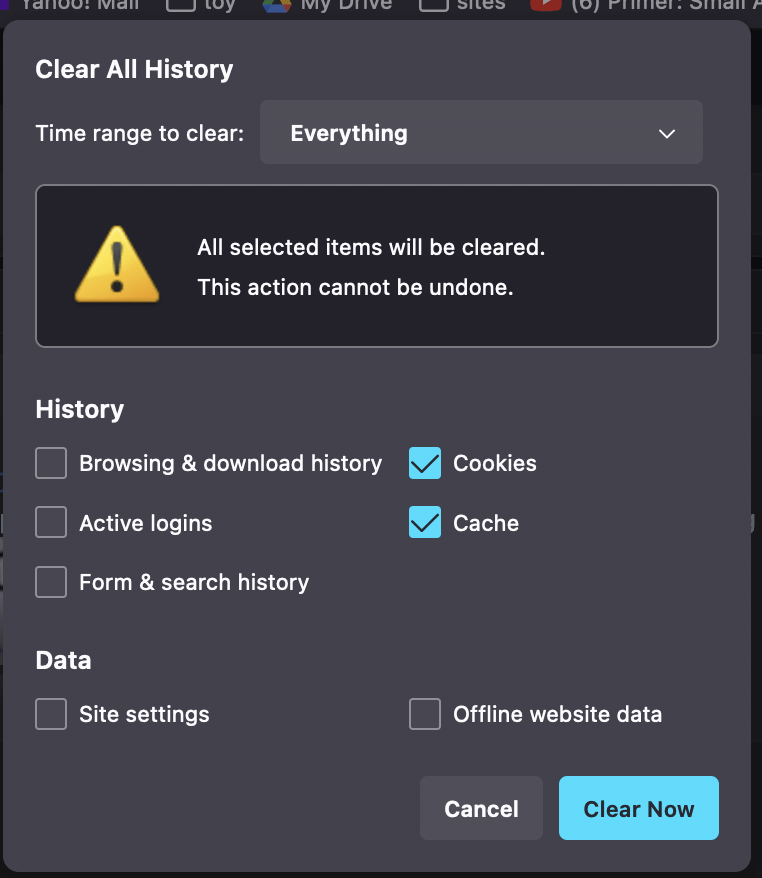
Mozilla Firefox
- Press Ctrl+Shift+Delete (Windows) or Cmd+Shift+Delete (Mac)
- On the pop-up window, select Everything for “Time range to clear”
- Check the boxes next to Cookies and Cache
- Click Clear Now
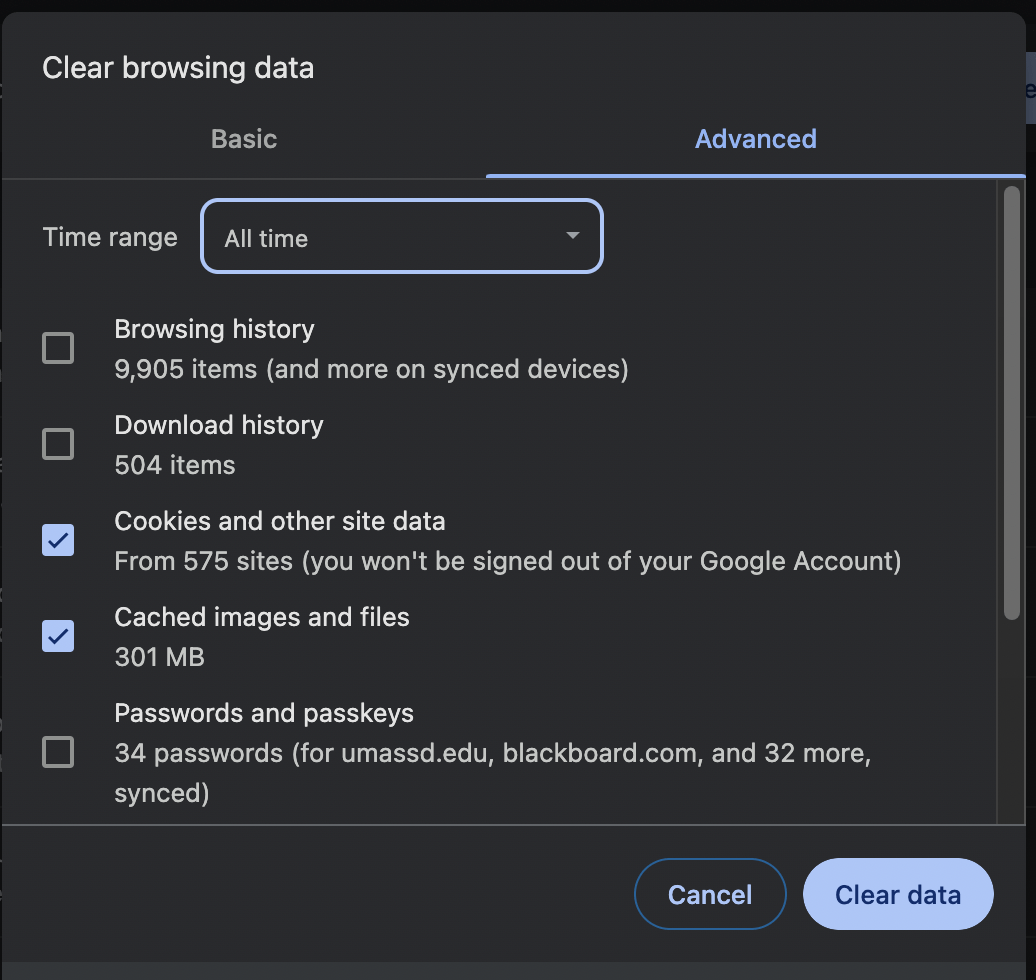
Google Chrome
- Press Ctrl+Shift+Delete (Windows) or Cmd+Shift+Delete (Mac)
- On the pop-up window, for Time range, select “All time”
- Check the boxes for Cookies and other site data and Cached images and files
- Click Clear Data